
One of my favorite ways to add a little personality to your Squarespace site is adding custom bullet points. With some simple code and a few small tweaks, you can use just about any symbol (or emoji!) as a bullet point on your site. Here’s how!
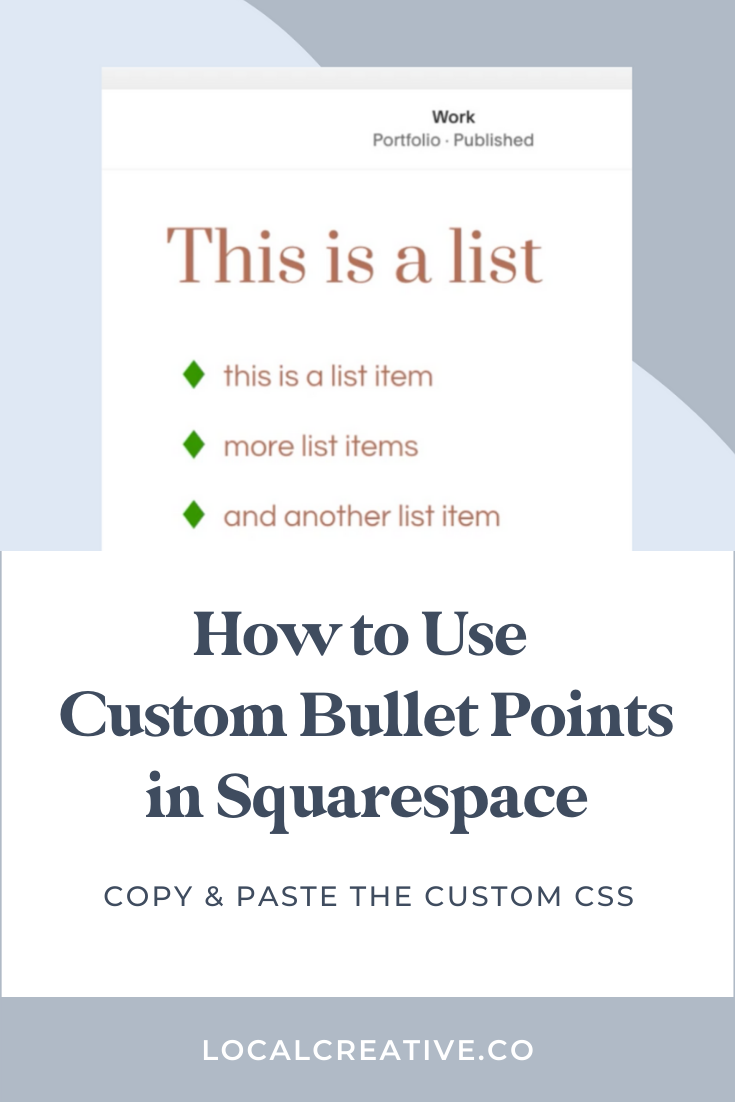
How to Set Up Custom Bullet Points in Squarespace
If you’re ready to get started with Squarespace now, click here to save 10% off your first subscription of a website by using the code PARTNER10.
STEP 1: Copy and paste your code.
Copy one of the code block above, navigate to DESIGN settings in Squarespace, click CUSTOM CSS, and paste your code into the box.
Keep in mind that you’ll need to be on the business plan or higher to take advantage of custom CSS.
Want more videos like this one? Click here to subscribe on YouTube.
VIDEO TRANSCRIPTION: Add Custom Bullet Points to Squarespace
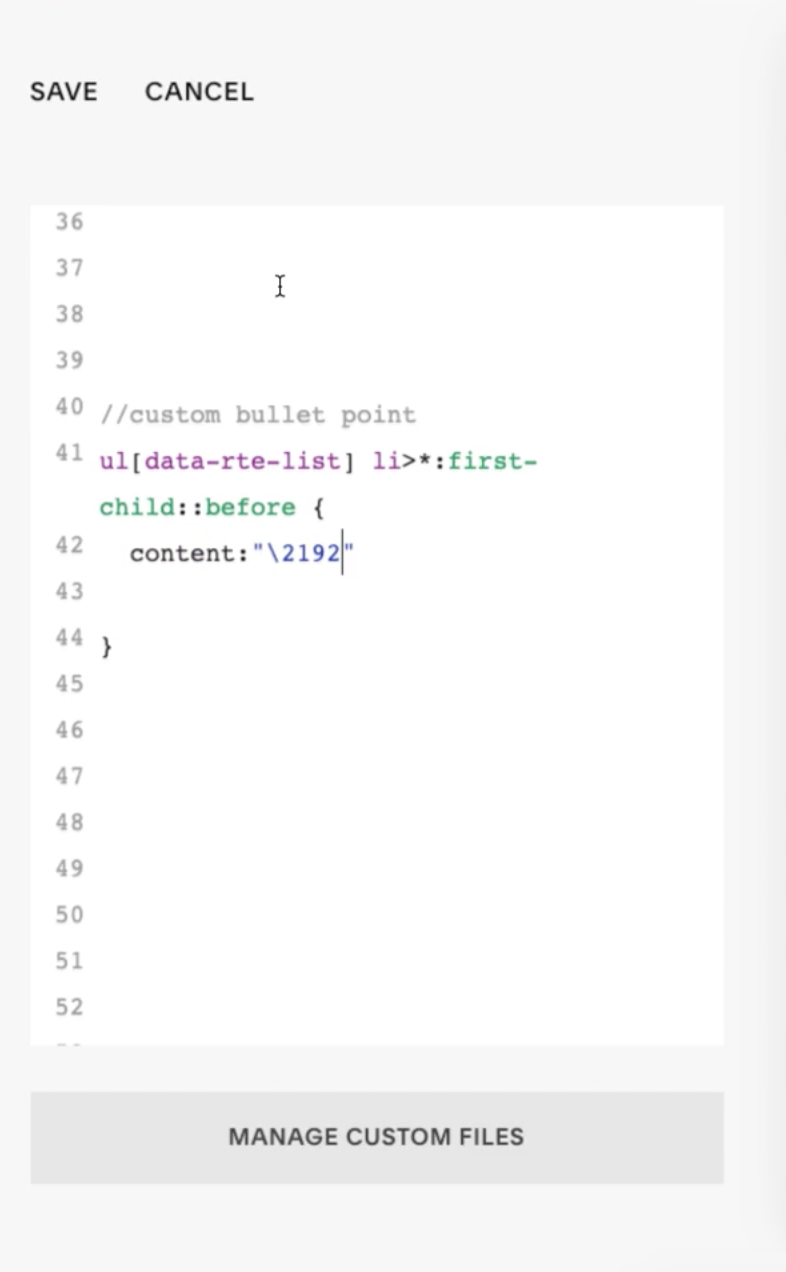
Hey, and welcome back to another video where I show you some cool ways you can customize your Squarespace website. In today’s video, I’m specifically going to be talking about how you can add fancy custom bullet points to your website with just a little bit of custom code. We’re specifically going to be using CSS to make these changes and I’ll include any code I mentioned over in the blog post associated with this video. You can copy and paste the code and go into your design settings and then to custom CSS, to add this to your own Squarespace website. Keep in mind, you have to be on the business plan or higher to be able to use this functionality. The first thing we’re going to do is tell Squarespace that we want to change the area before each list item.
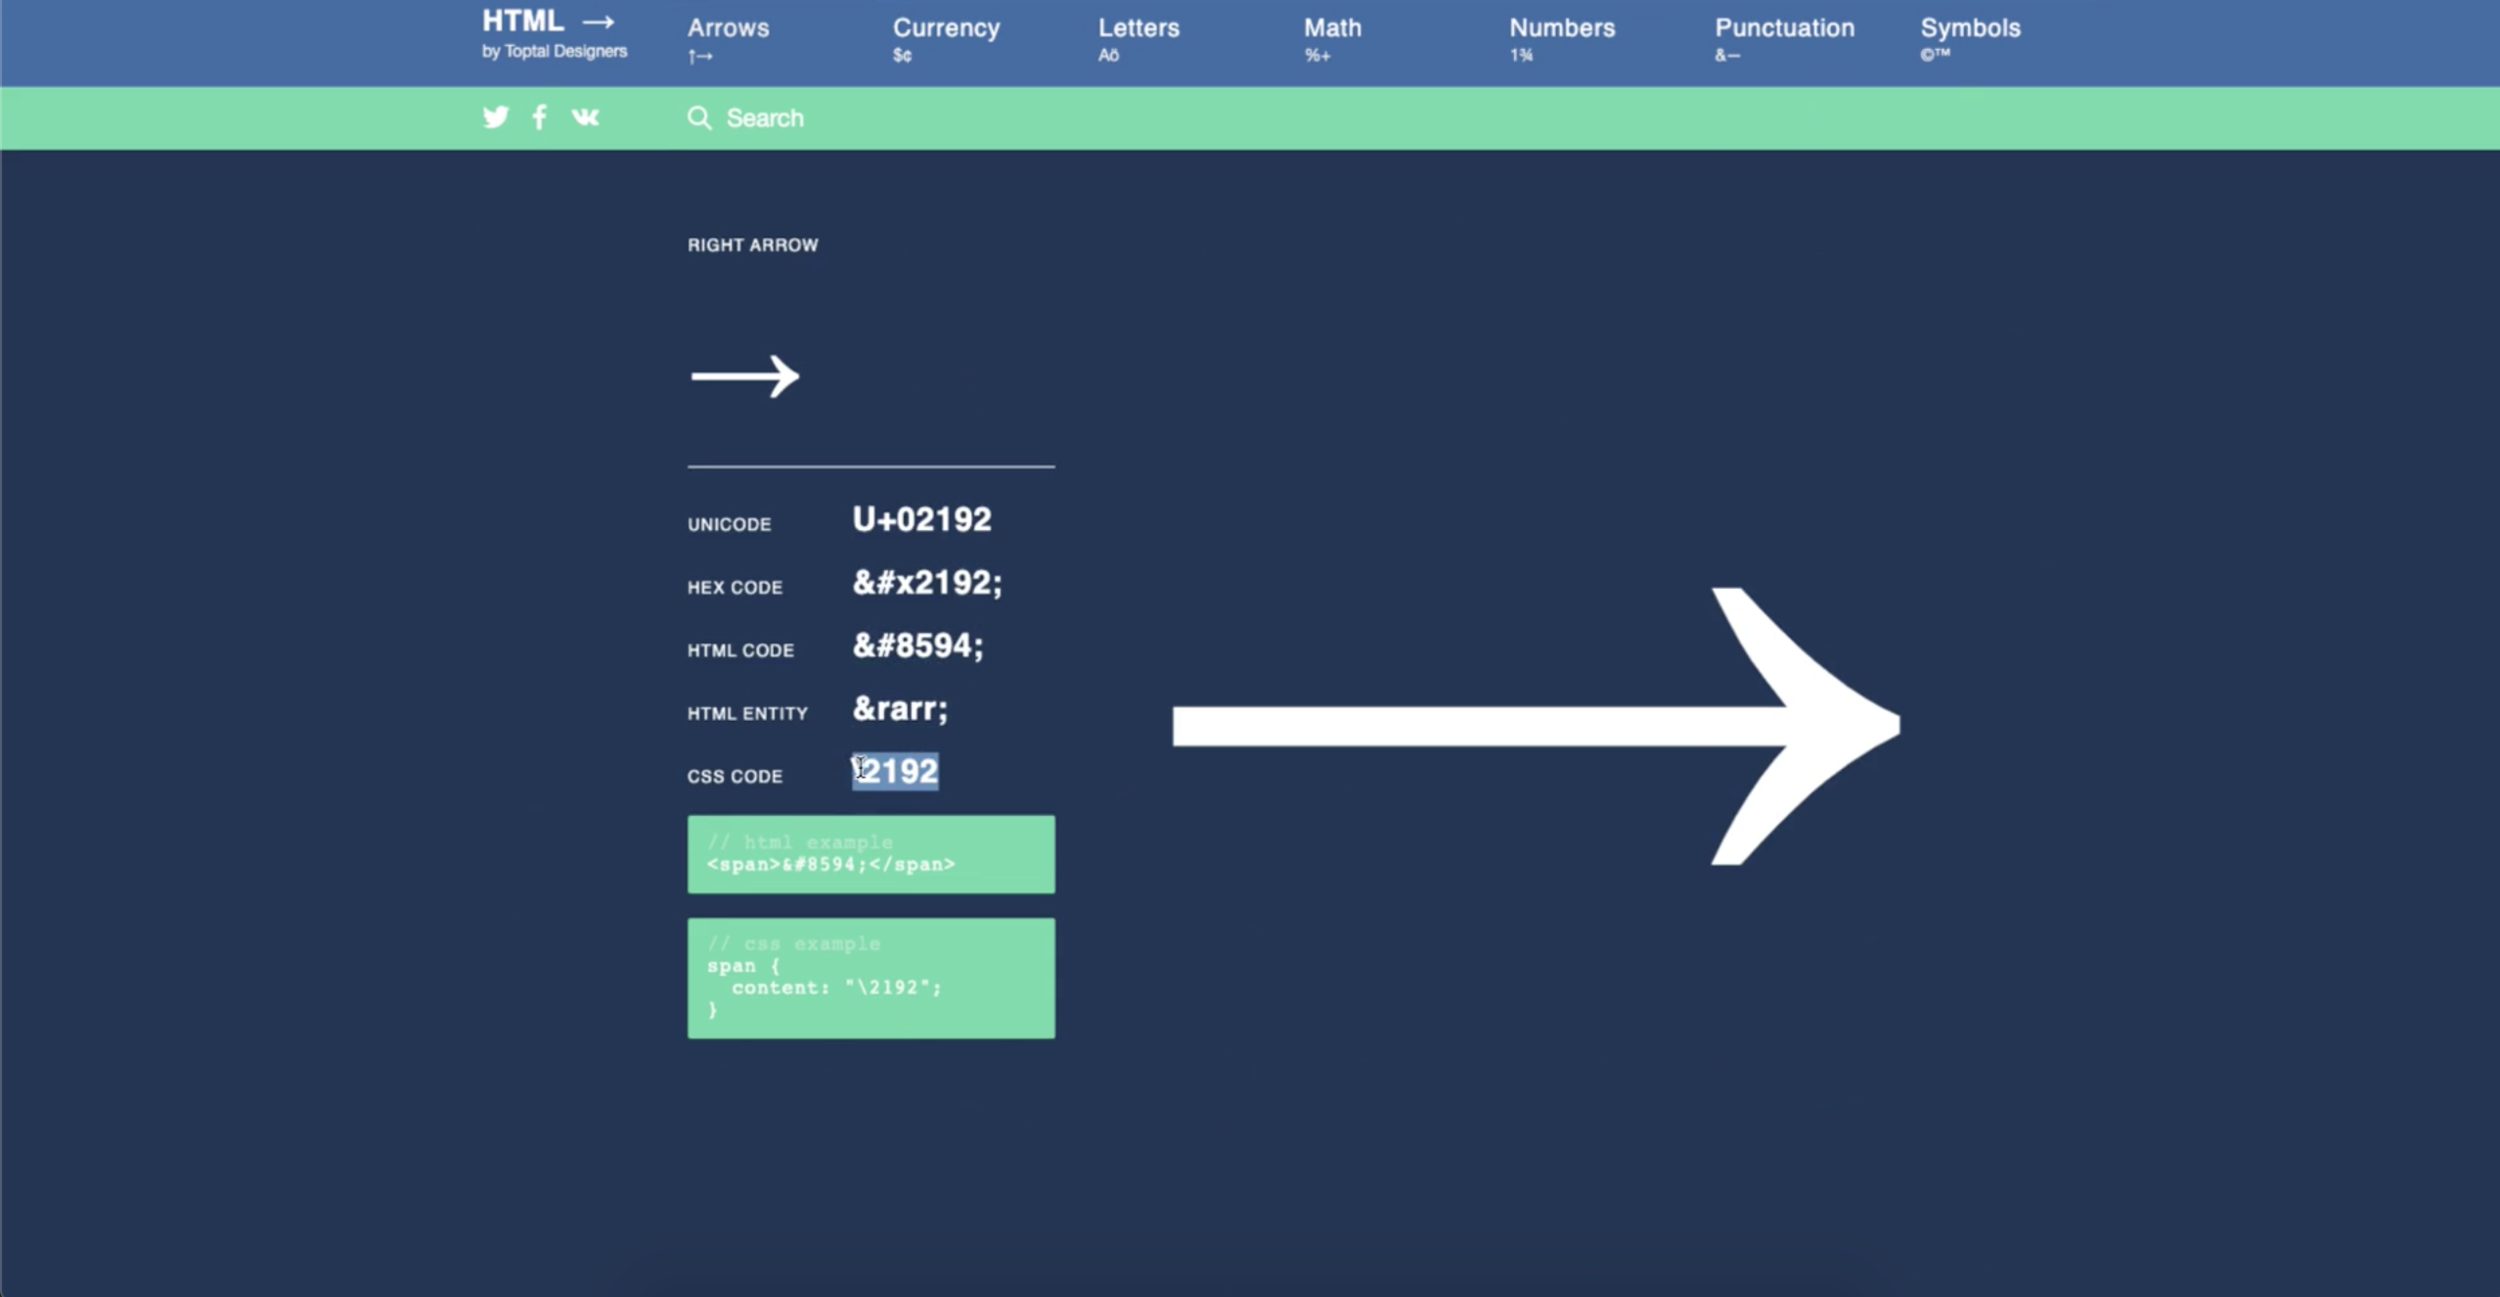
Then, you can use the link around this video to choose a symbol that you want to use instead of the default bullet point.
You then want to copy and paste the CSS code for that symbol and place it in the content section here.
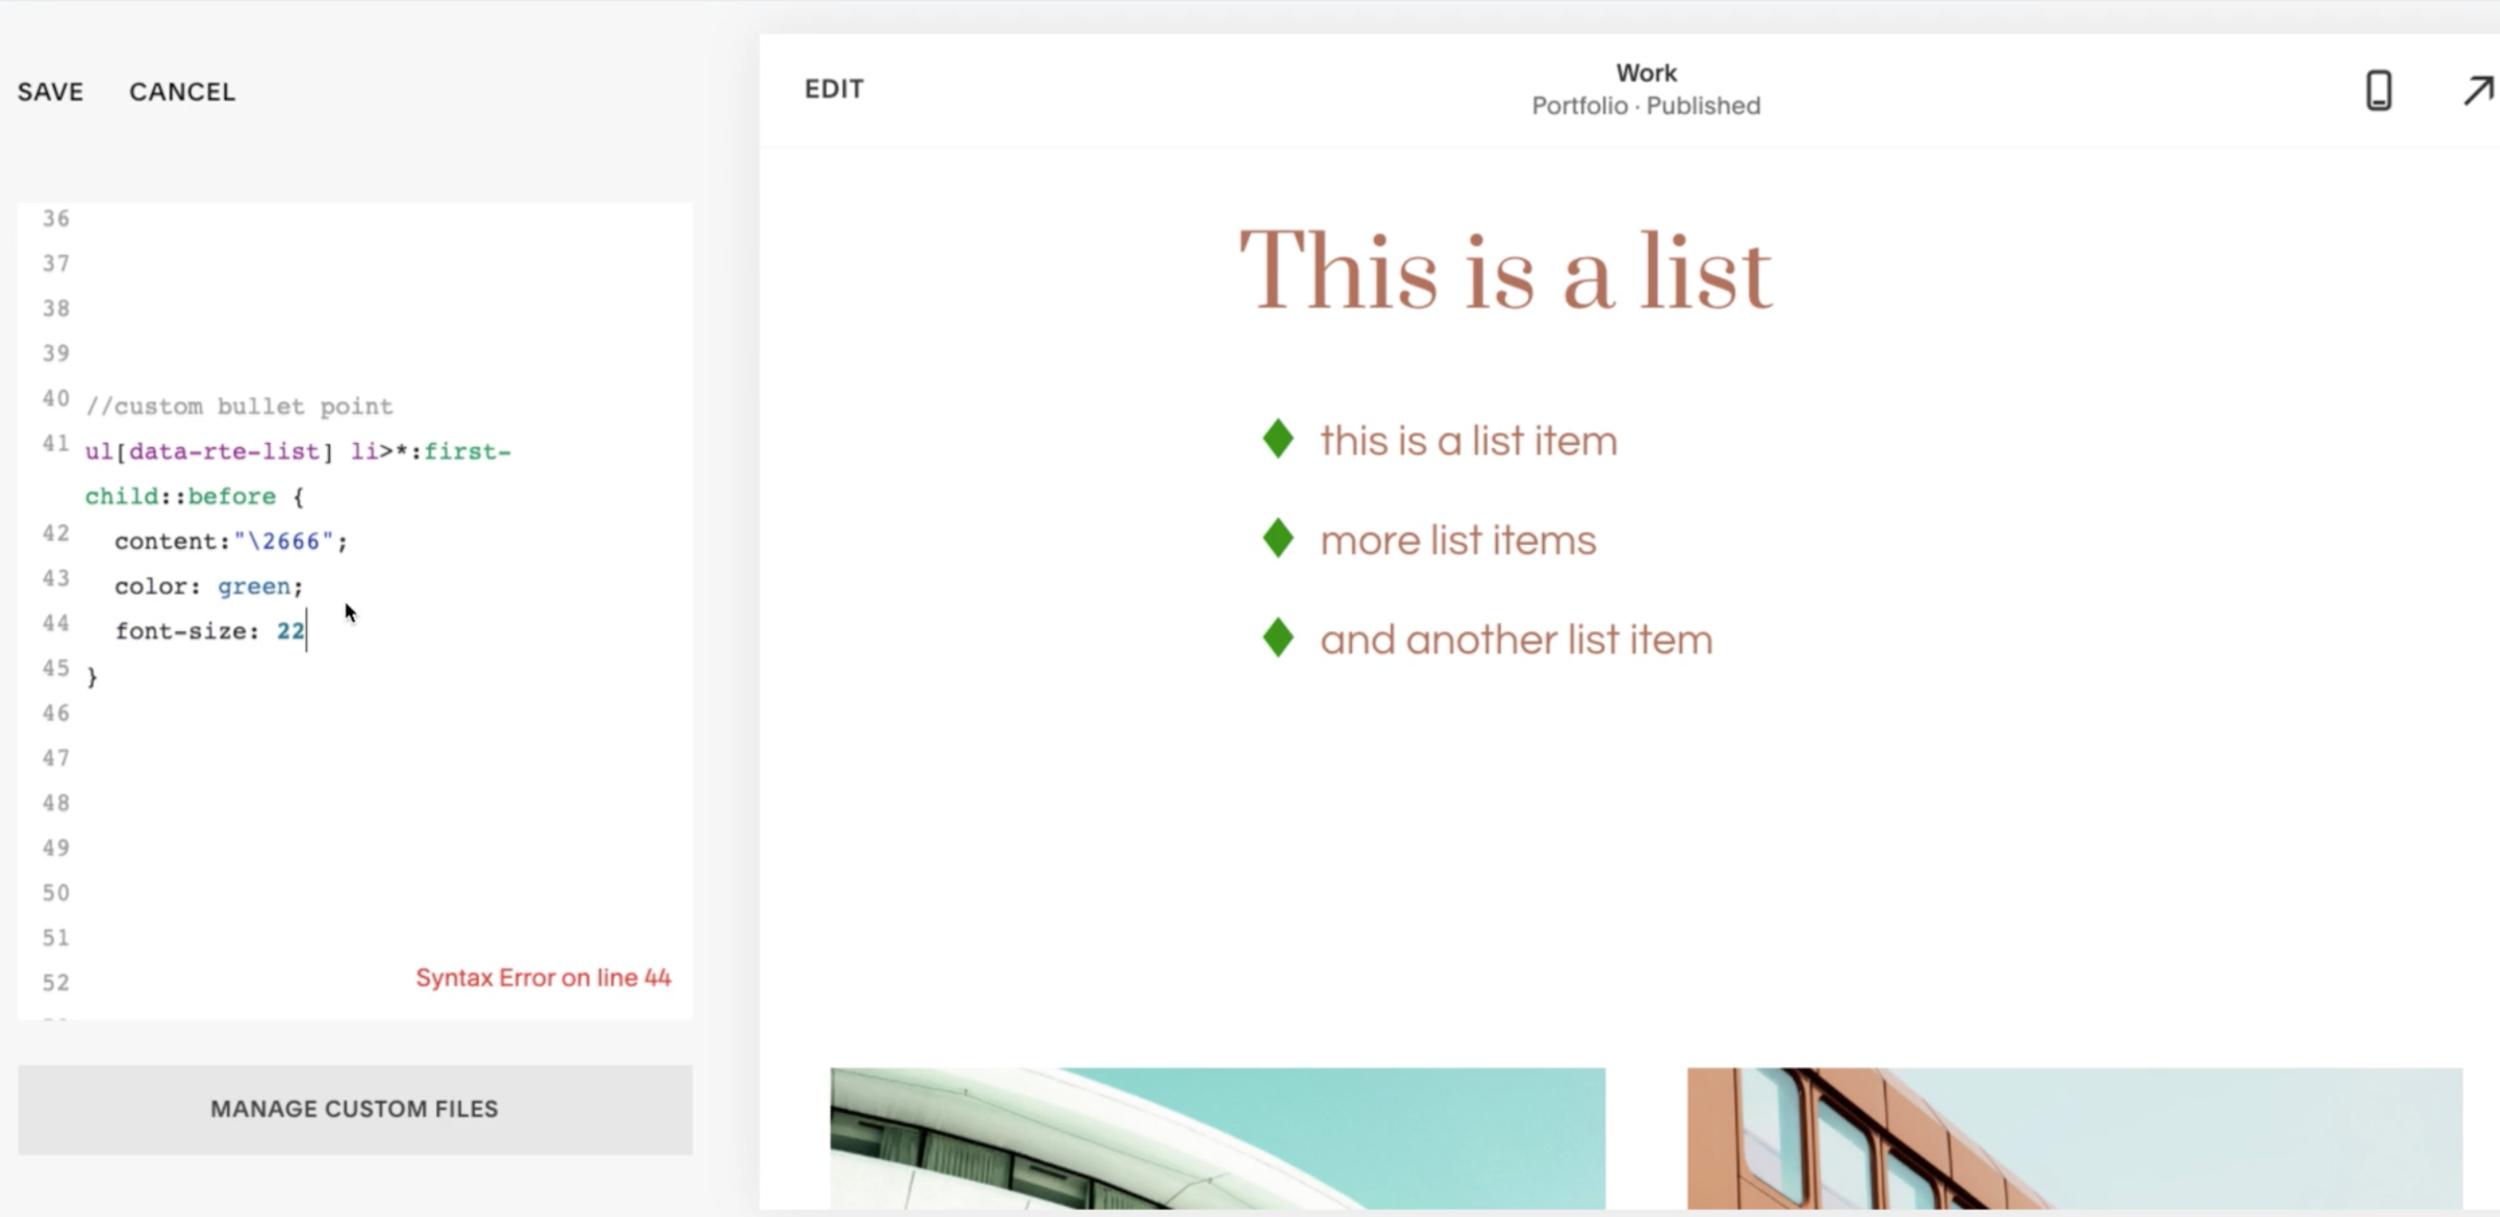
Next, you’re going to play around with the font weight, the font size, the position and the color of your bullet point to make it really custom for you. Depending on the type of symbol you chose, you might have to make it bigger or smaller or move it a little bit more in one direction or another. And that’s all really easy to do with the CSS snippet I’m providing here.
I’m going to include some of my favorite bullet points like checkmarks and arrows below this video, so you can check them out and see what’s going to work best for you. I hope you enjoyed this super quick tutorial. If you did make sure to hit the like button and comment below, let me know if you’re going to use this on your website and as always, don’t forget to subscribe so you don’t miss any more videos like this one in the future.
For a simple way to add custom bullet points in Squarespace…
//bullet points
ul[data-rte-list] li>*:first-child::before {
content: "02B"; color: #000000; }
For more advanced spacing and styling options…
//bullet points

ul[data-rte-list] li>*:first-child::before {
    content: "02B";
    font-weight: 600;
    font-size: 42px;
    position: relative;
    top: 8px;
    color: #000000;
}
STEP 2: Choose your bullet point style.
Check out this list of free bullet point styles. The possibilities are endless!
Here’s a link to find the css codes as described in the video:
Some of my favorites are…
→ (code: 2192)
◆ (code: 25C6)
✔ (code: 2714)
STEP 3: Copy and paste the symbol code.
Copy the CSS for your symbol and paste it into the ‘content’ section of your site code.
STEP 4: Adjust the bullet point style.
Depending on the symbol you chose, you may need to adjust the color, size, and position to fit your site’s look. All of these adjustments are super easy to make using this custom CSS snippet.
And you’re done!
Want More Ways to Customize Your Squarespace Site?
Here are some other Squarespace tutorials I recommend you check out next…
- How to Add a Dropdown Accordion-Style FAQ to Your Squarespace Website
- When You Should Block Google From Crawling Your Website
- How to Update Your Squarespace Browser Icon or Favicon (for Free With Canva)

Galen Mooney is the founder of Local Creative, a boutique web design studio crafting elevated websites for small business owners and creatives with a focus on connection, clarity, and growth. With over a decade of experience in design and SEO, she’s partnered with hundreds of creative brands to build custom Showit, Squarespace, and WordPress websites that build trust and momentum over time.

This was spot on and saved me tons of time. Thank you!