

Social Sharing Images are small thumbnail image(s) that are displayed when you post your site link on any social media channel (including Facebook) or in text messaging.
Don’t fret, they’re super easy to add in Squarespace. While it’s optional to add one, adding a social sharing image is a great way to control and add influence to how a social post looks when it links to your website.
There are two types of Social Sharing Images:
Social Sharing Logo: This small thumbnail image represents your overall site.
Alternate Social Sharing Image: This image or images represents individual pages or items, like blog posts, products you offer, and portfolio sub-pages.
How to Update Your Social Sharing Logo
1. In the Squarespace Home Menu click “Design.”
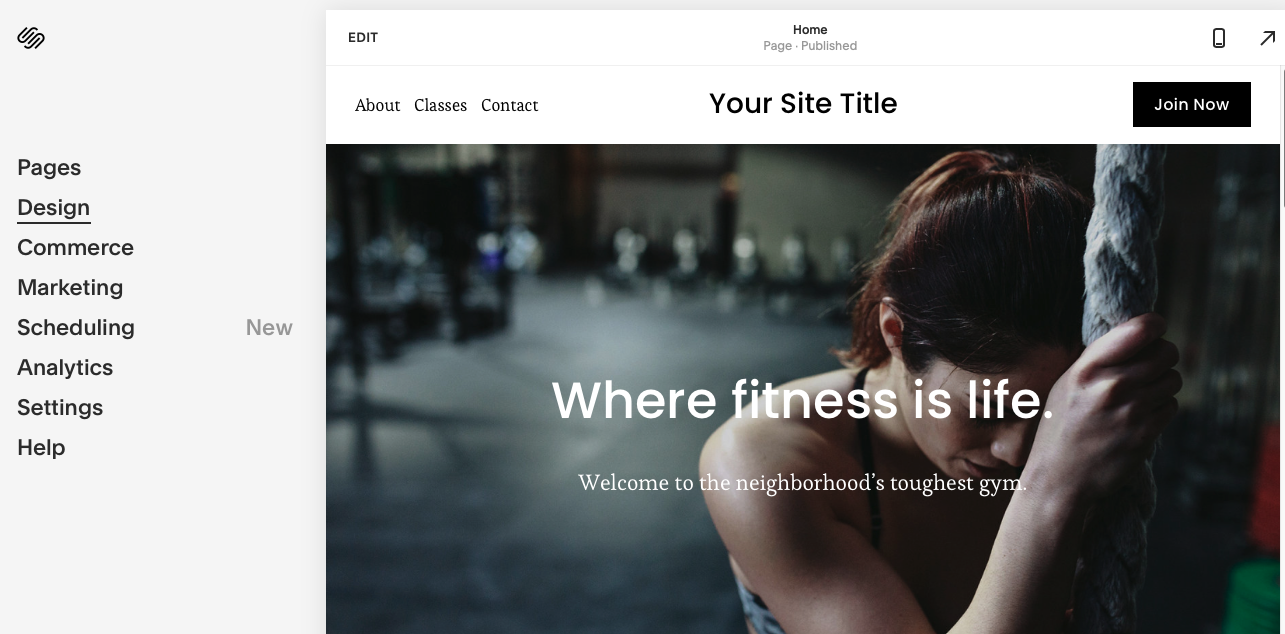
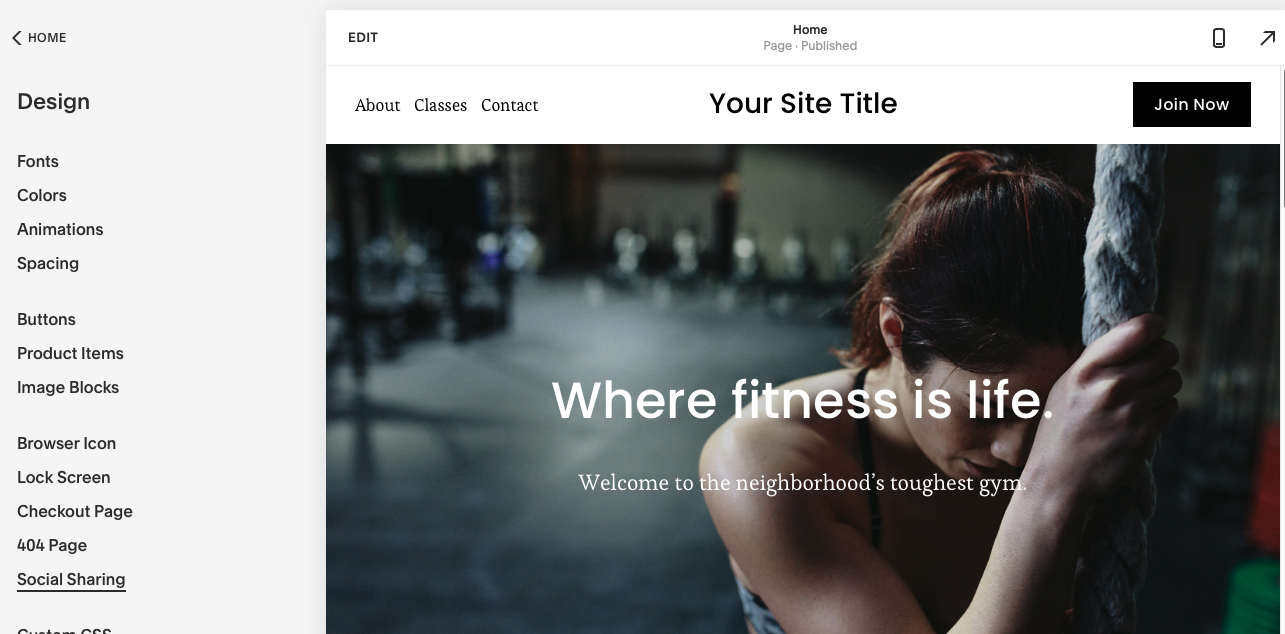
2. Then, click “Social Sharing.”
3. Click the arrow to upload an image
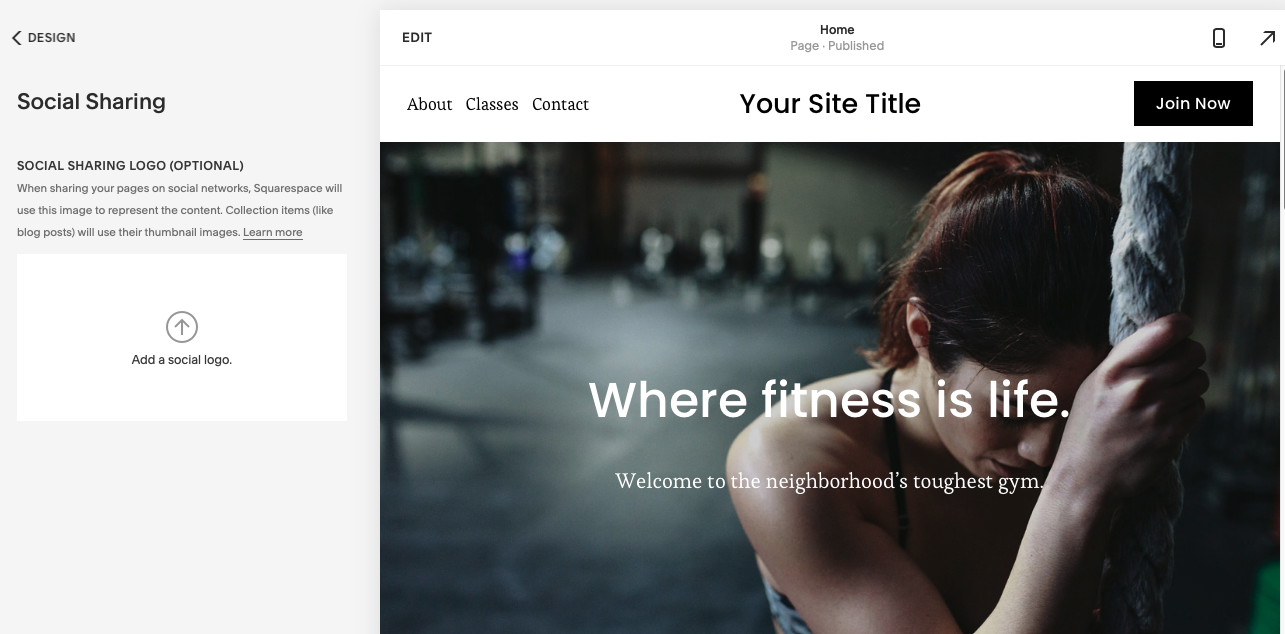
4. Drag your image into the social logo uploader. You can also click “Add a social logo” to open a file selection menu, then select a file from your computer.
5. Click “Save.”
*Please note: Instructions shared here apply for version 7.1. The difference for 7.0 is that you would go from the home menu, to “Design” then click on “Logo & Title”. The rest of the instructions above apply.
How to Get Your New Social Logo to Show Up On Facebook
Maybe you followed the steps above, added a social sharing logo, but it’s not showing up when you post your link on Squarespace. Here’s how to fix that…
To make sure Facebook registered your changes, head to the Facebook Debugger page, enter the URL, and click “Debug”.
1. Go here: https://developers.facebook.com/tools/debug/.
2. Enter URL.
3. Click “Debug”.
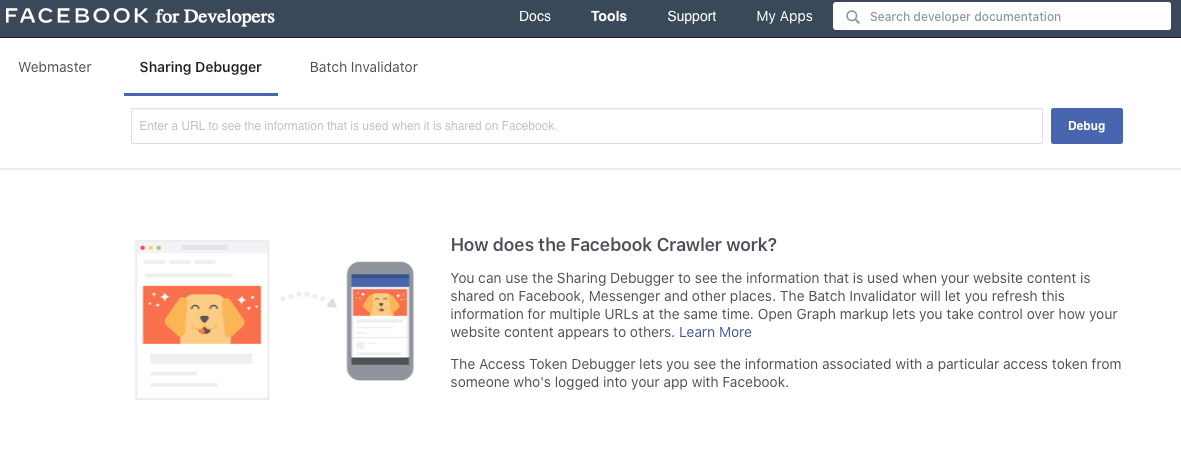
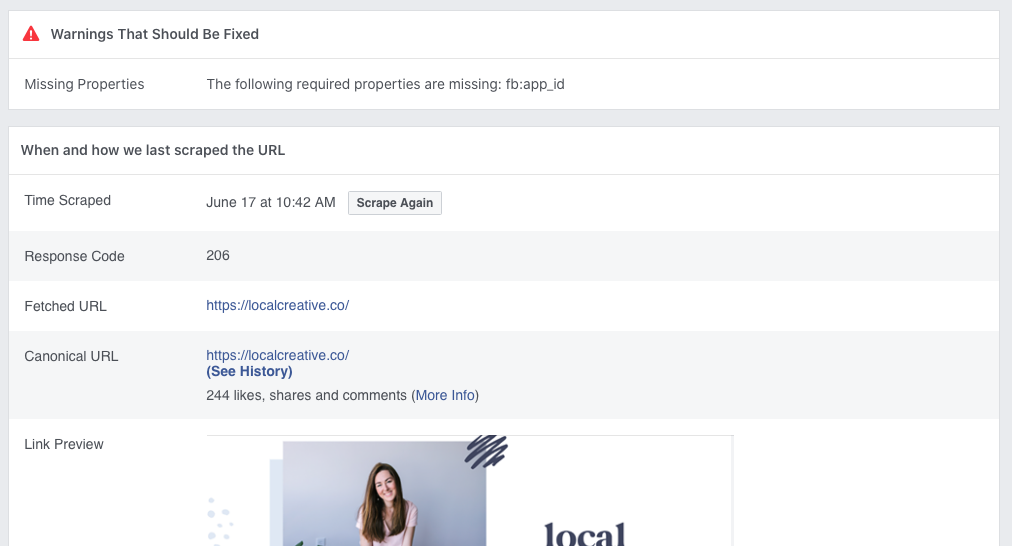
4. Click “Scrape Again”.
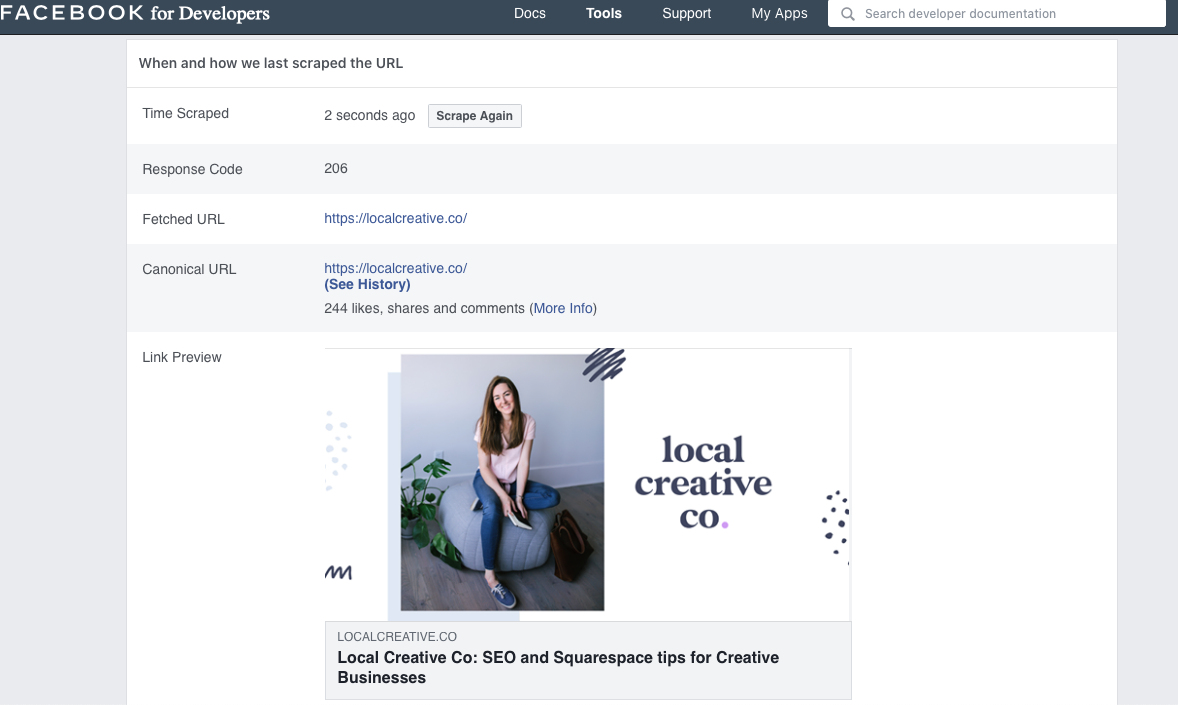
Now your new social sharing image should show up properly when you share your link on Facebook!
Adding an Alternate Social Sharing Image
Here’s how to update your Social Sharing Image for individual Pages
1. In the Home Menu, click “Pages”.
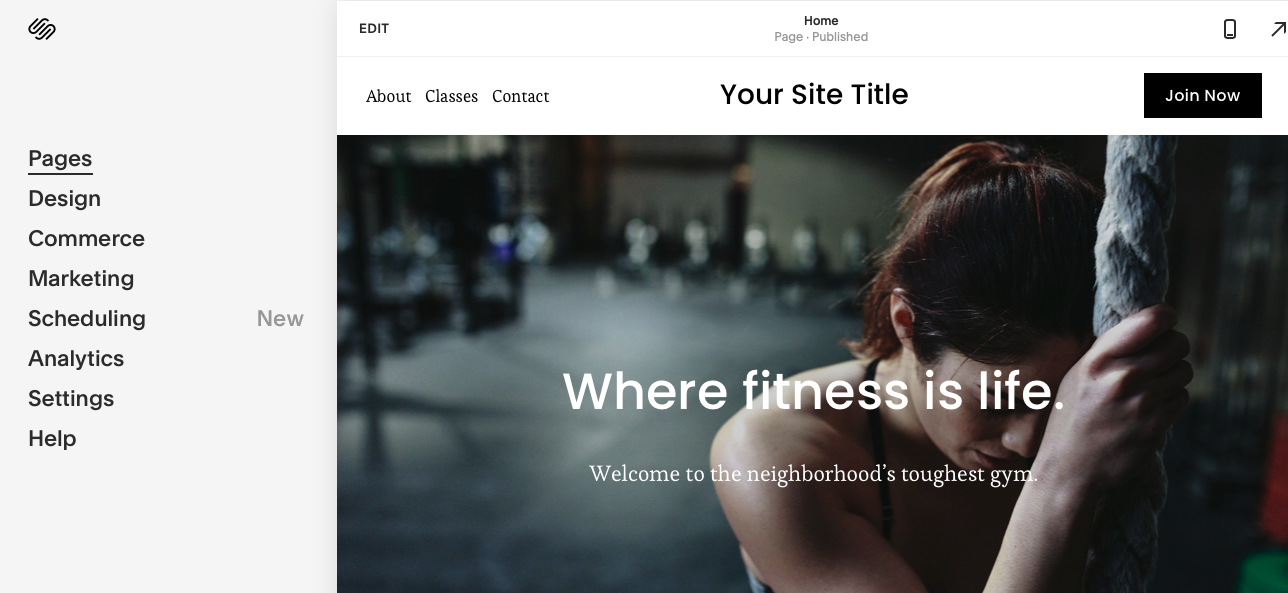
2. Hover over the page title, then click the gear icon to open page settings.

3. Click the “Social Image” tab.
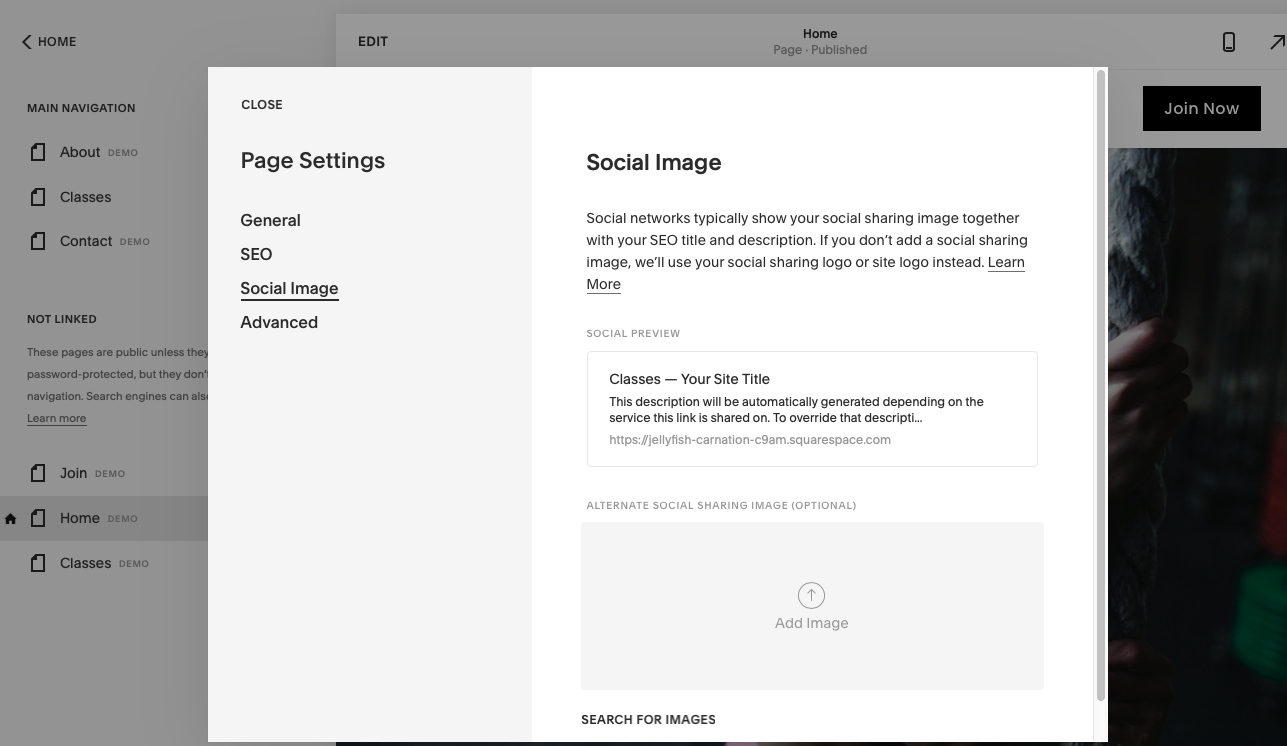
4. Drag and drop your image into the image uploader. You can also click “Add Image” to open a file selection menu, then select a file from your computer.
5. Click “Save”.
Here’s how to update your Alternate Social Sharing Image for Collection Items
- In the Home Menu, click “Pages”.
- Click a “Blog Page”, “Products Page”, or “Events Page”. For blog posts and events, hover over the item and click “Edit”. For products, double-click the product.For portfolio sub-pages, click “…”.
- Then, click “Settings”.
- Click the “Social Image” tab.
- Drag your image into the image uploader and drop. You can also click “Upload an image” to open a selection menu, then select an image file from your computer.
- Click “Save”.
If you’re ready to get started with Squarespace now, click here to save 10% off your first subscription of a website by using the code PARTNER10.
Did you find this helpful? Be sure to comment below.

Galen Mooney is the founder of Local Creative, a boutique web design studio crafting elevated websites for small business owners and creatives with a focus on connection, clarity, and growth. With over a decade of experience in design and SEO, she’s partnered with hundreds of creative brands to build custom Showit, Squarespace, and WordPress websites that build trust and momentum over time.

Is it best practice to create a social share image for each individual blog post? And if so, is it best to make it an image or a pinterest pin/image with text? Thank you!